If you’ve ever wished your smartphone could shoot like a DSLR, you’re not alone. Modern phone cameras are powerful — but they have limits, especially when it comes to zooming, macro shots, or distant photography.
That’s where Apexel’s TeleCular and PhoneMicro lens series come in. With just a few simple steps, you can turn your phone into a pocket-sized photography powerhouse.
Here’s a complete step-by-step guide on how to get the best out of your Apexel lenses.
1. Choose the Right Lens for Your Purpose
Before you start shooting, it’s important to match your goal with the right lens:
| Lens Model | Best For | Key Feature |
|---|---|---|
| TeleCular 20–60X Zoom Lens | Wildlife, travel, sports | Variable zoom for flexibility |
| TeleCular 30X Telephoto Lens | Landscape, concerts, cityscapes | Crisp long-range details |
| TeleCular 50X Telephoto Lens | Moon shots, bird watching | Ultra-long range and clarity |
| PhoneMicro 5 Series (100X–300X) | Macro, insects, jewelry, plants | Scientific-level close-ups |
Pro Tip: If you love both nature and micro details, pair a TeleCular lens with a PhoneMicro for a complete outdoor kit.
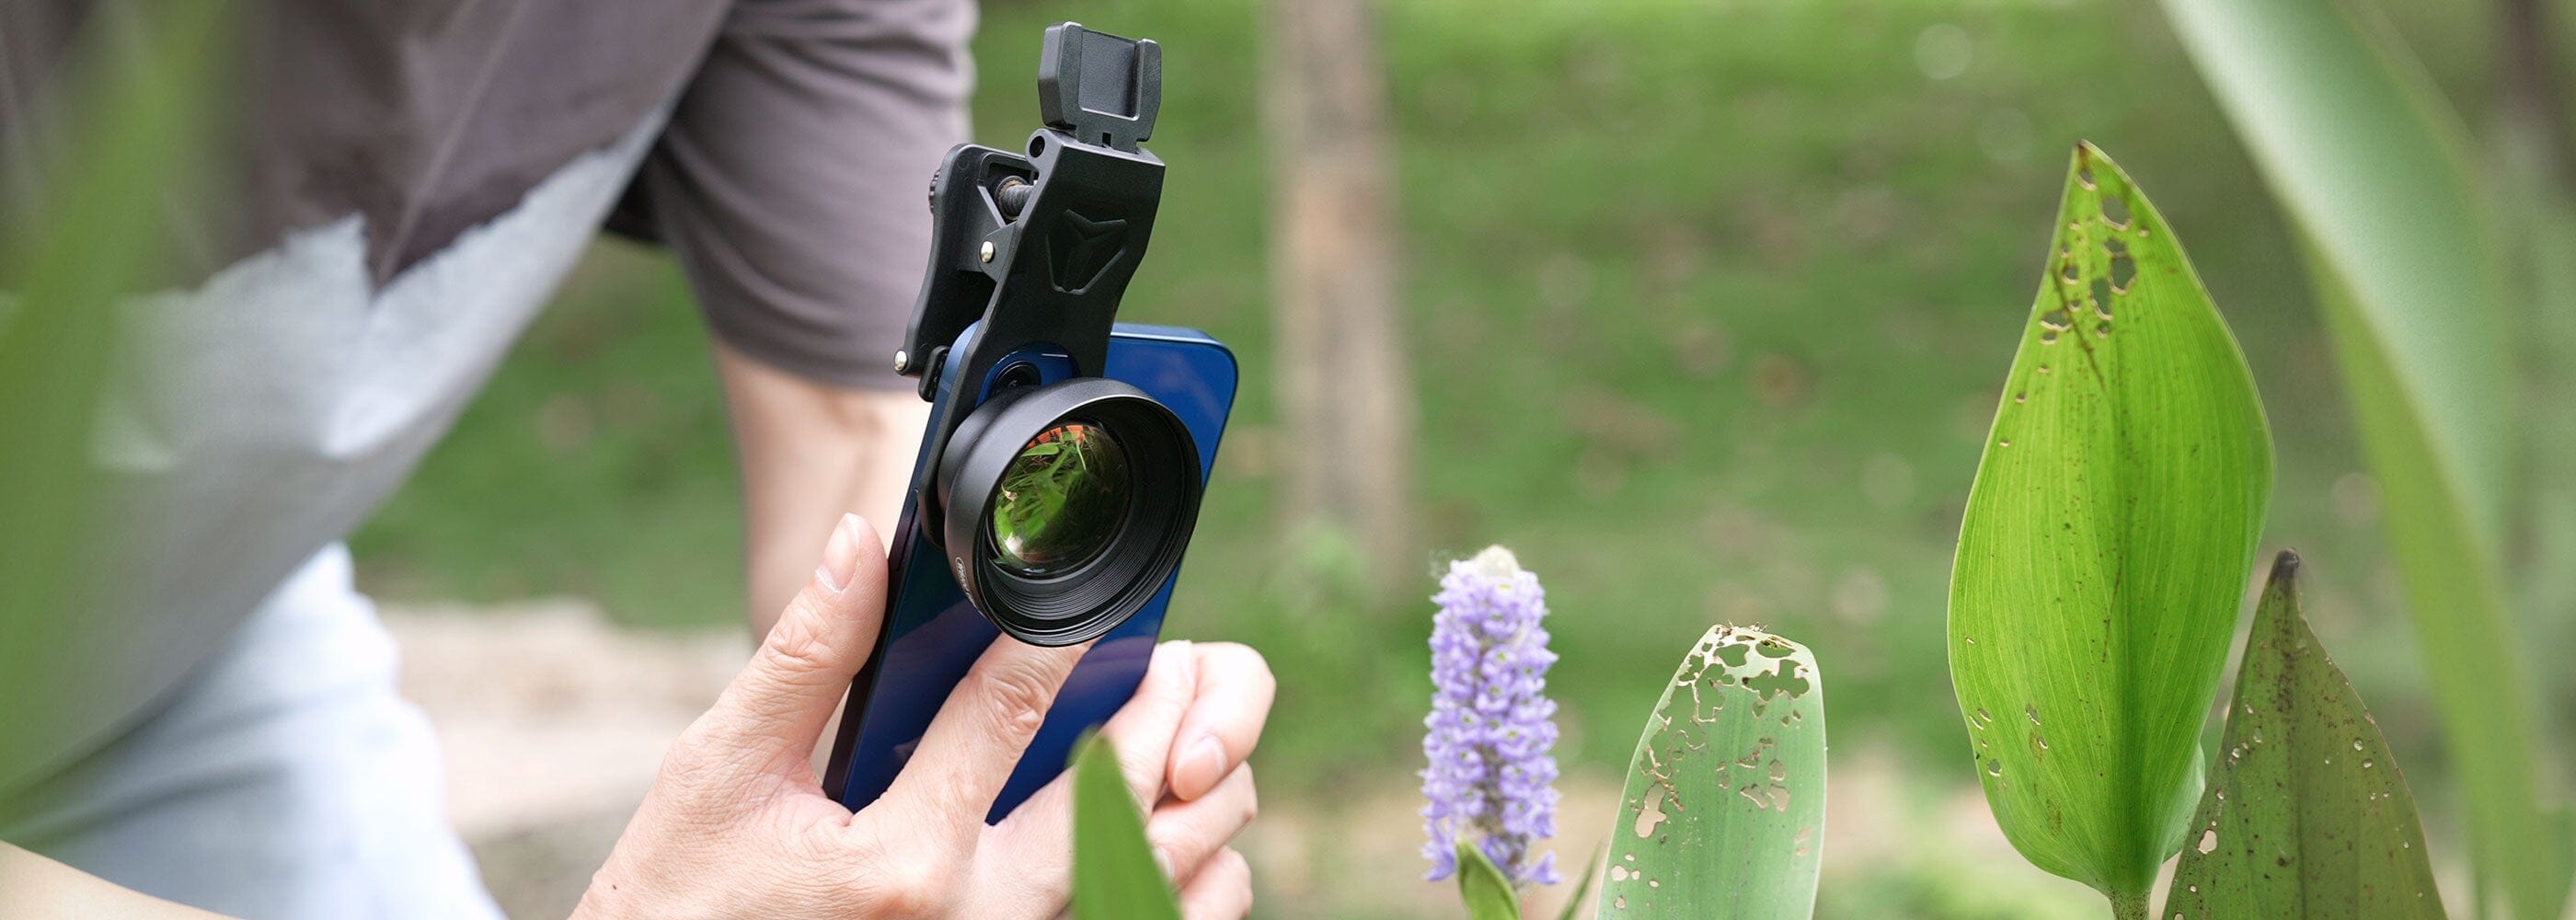
2. Mount the Lens Correctly
Each Apexel lens comes with a universal clip that fits almost any smartphone.
Follow these steps:
-
Clean your camera lens – Dust or smudges will ruin clarity.
-
Attach the Apexel clip – Make sure the clip aligns perfectly with your phone’s main camera.
-
Screw the lens onto the clip – Tighten gently; over-twisting can affect focus.
-
Open your camera app and preview the shot — adjust alignment until the image is sharp and centered.
If your phone has multiple cameras, test which lens gives the clearest result (usually the main wide lens).
3. Adjust Focus and Zoom
Each TeleCular and PhoneMicro lens has manual focus and zoom rings — this is where the magic happens.
-
For TeleCular lenses, twist the outer ring slowly to zoom from 20X to 60X or adjust focus at 30X / 50X.
-
For PhoneMicro 5 Series, bring your subject close (1–2 cm) and fine-tune focus until every texture appears crisp.
Tip: Use a tripod for high magnification shots — even tiny hand movements can blur at 50X or 300X magnification.
4. Stabilize Your Shots
Whether you’re shooting a mountain peak or a butterfly wing, stability is everything.
You can:
-
Mount your phone on an Apexel tripod.
-
Use the Bluetooth remote shutter (included in many lens kits).
-
Or, rest your phone on a flat surface for steadier shots.
5. Optimize Your Lighting
Lighting can make or break your photo.
-
For Telephoto shots: Early morning or golden hour lighting enhances contrast and depth.
-
For Macro shots: Use natural daylight or a ring fill light (Apexel offers compatible LED accessories).
-
Avoid harsh direct light — diffuse it with a soft white cloth or paper if necessary.
6. Fine-Tune with Apps
Post-editing is your secret weapon. After capturing your shots:
-
Use Snapseed or Lightroom Mobile for quick color and sharpness adjustments.
-
For macro shots, increase contrast slightly to highlight textures.
-
For telephoto images, enhance shadows for a cinematic effect.
7. Experiment and Explore
Photography is about curiosity.
Try capturing:
-
The moon with your 50X TeleCular lens.
-
Dewdrops or flower petals with the 200X PhoneMicro lens.
-
City skylines at sunset using the 30X Telephoto.
You’ll be surprised how much detail your smartphone can reveal when paired with the right Apexel gear.
Final Thoughts
Turning your smartphone into a professional camera setup doesn’t require expensive equipment — just innovation and the right tools.
With Apexel’s TeleCular and PhoneMicro series, you can explore photography in ways you never thought possible — from distant landscapes to microscopic worlds.
So next time you’re out exploring, don’t just take a picture — capture the unseen.
Explore more at Apexel and find the perfect lens for your mobile photography adventure.
Share:
🎃 Capture Spooky Moments: APEXEL’s Halloween Spectacular Sale