#1: Fear of deleting
To the great annoyance of all budding photographers, the phone memories are over. When organizing my mobile photography workshops in Hong Kong, I strongly encourage people to go out on the street and photograph anything that catches the eye. However, only a fraction of these shots should become "guardian" and/or be published on social networks.
Reviewing your photos and removing the misses after a day of shooting will free space for the next day and make you a better mobile photographer. There is nothing more self-critical!

#2: Boring angles
We were all conditioned to think that the subject should be placed in the center of our photographs - this is what we have seen for years on our school and our family photos. It can sometimes work, but if every image you produce is so, it becomes uninteresting!
One of the first things I teach in my mobile photography workshops is the "rule of thirds". The idea behind this is to mentally divide your scene into three-thirds horizontal and three-thirds vertical. Having a subject placed along the lines connecting the central and outer thirds makes the picture much more interesting. If you can not imagine, upload a photo to Instagram and click on the "adjust" function.
The grid lines will appear for you and you will soon be able to understand where they are. In addition, gain height, experiment with angles in general during mobile photography. If that does not work, you can simply delete it later.

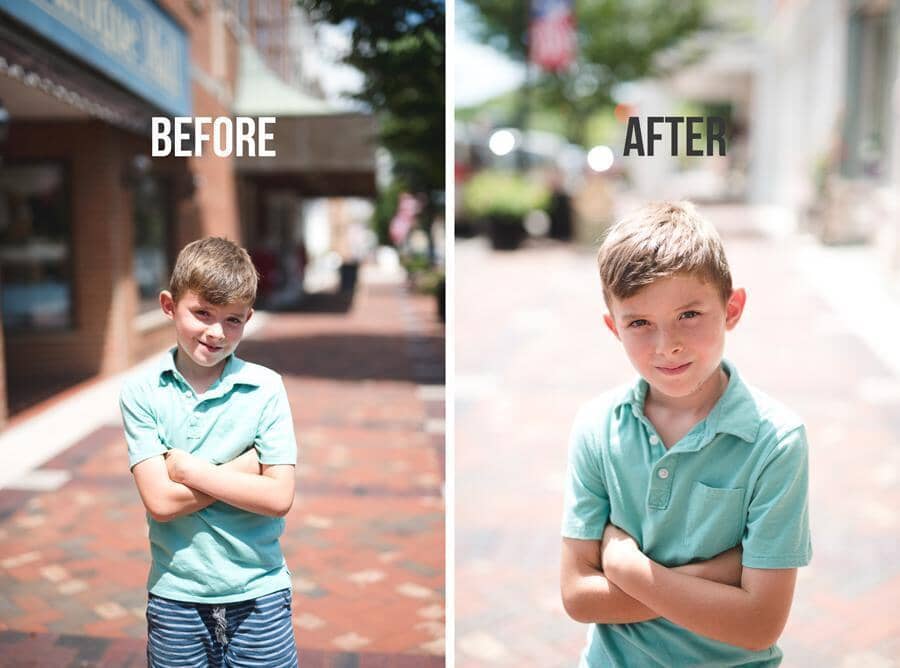
Experiment with angles

Rule of thirds and interesting lighting.
# 3: No clear subject
A photo needs a clear subject, be it a person, a building or just a sunset. If you do not know exactly what you are taking a picture of, why are you taking it in the first place? When you're new to mobile photography, do not walk around the streets without taking pictures. Browse the streets with curiosity, looking all around, until you see something that you find interesting. So get ready to take the picture!
An example of a photo without a clear subject

Here, the subject is clear
#4: Digital Zoom
The zoom function on mobile phone cameras is not good yet. Period. If your subject is too far away to get a good picture with a nice frame, get closer physically if possible. That's part of what it means to be a nomadic photographer, after all, so be mobile! If this is not an option, try taking the picture remotely and crop it later. Never use the zoom of your phone, it will just leave you a picture closer to a blurry subject.
 Digital Zoomed

Leg Zoomed
#5: Bad lighting
Lighting is the number one factor in photography, and poor lighting makes it a bad mobile photograph. Every aspiring photographer should know the "golden hours" at dawn and dusk when the light is more uniform and therefore better for taking pictures, but that does not mean you should keep your phone in your pocket the rest of the day.
During the day, be sure to put your back in the sun and your subject in front of you, unless you choose a silhouette, and watch the shadows and uneven shadows that could unbalance your image or make it interesting! Mobile phone cameras are even less efficient than digital SLRs in low-light situations. So I'll just try to take darker or more artistic pictures if you take pictures after hours.

An example of being on the side of poor lighting

Golden hour in Bali, Indonesia
#6: over-processing in APP
Many nomadic photographers do not adhere to the above-mentioned lighting rules, believing that these issues can be addressed by manipulating filters and settings in applications such as Instagram, Snapseed, or Photoshop. This is, however, true only to a certain extent, as any professional photographer can instantly tell when a photo has been falsified to an inch of one's life.
The next time you browse Instagram, look for overexposed, over textured, or overly saturated photos. These are the culprits. If a photo was good at first, applications and editing software should simply improve them, not transform them completely. In other words, try to get the best picture possible in your camera when you shoot it.

An example of an overtreated photo.

No over-processing here!
As long as you avoid these mistakes, I believe that your phone photography will be greatly improved.
Share:
This Mom Uses Her iPhone Camera to Transform Her Travels Into Art
Pose Guide: How to Pose in Group Pictures?